Please meet Mr. Bunny, he's my newest project. I don't have his physical presence but he's always on my desktop waiting for me. I have been commissioned to make Mr. Bunny a new set of clothes. His owner wanted a change, something elegant but comfortable. I'm thinking something like Liberachi meets Mr. Rodgers! I happen to love Mr. Rodgers by the way.
So, with his owners blessing, I went to the fabric store and rooted around. These are the things I came up with. Mr. Bunny will be needing a fancy pair of pants and bow tie, thus the brocade. He'll need a nice neutral collared shirt, the light gray cotton and blue buttons. And a comfy cardigan, Vanna's Denim Mist and Beatrix Potter buttons.
I got started on his pants because I felt that the brocade would be a challenge, it was! Oh, meet Mr. Dummy Bunny, he helps me out with fittings.
Here's where I am on the shirt. I'm a little concerned about the length of the arms. Oh, by the way it took me 2 tries at the pants and shirt, second times the charm!
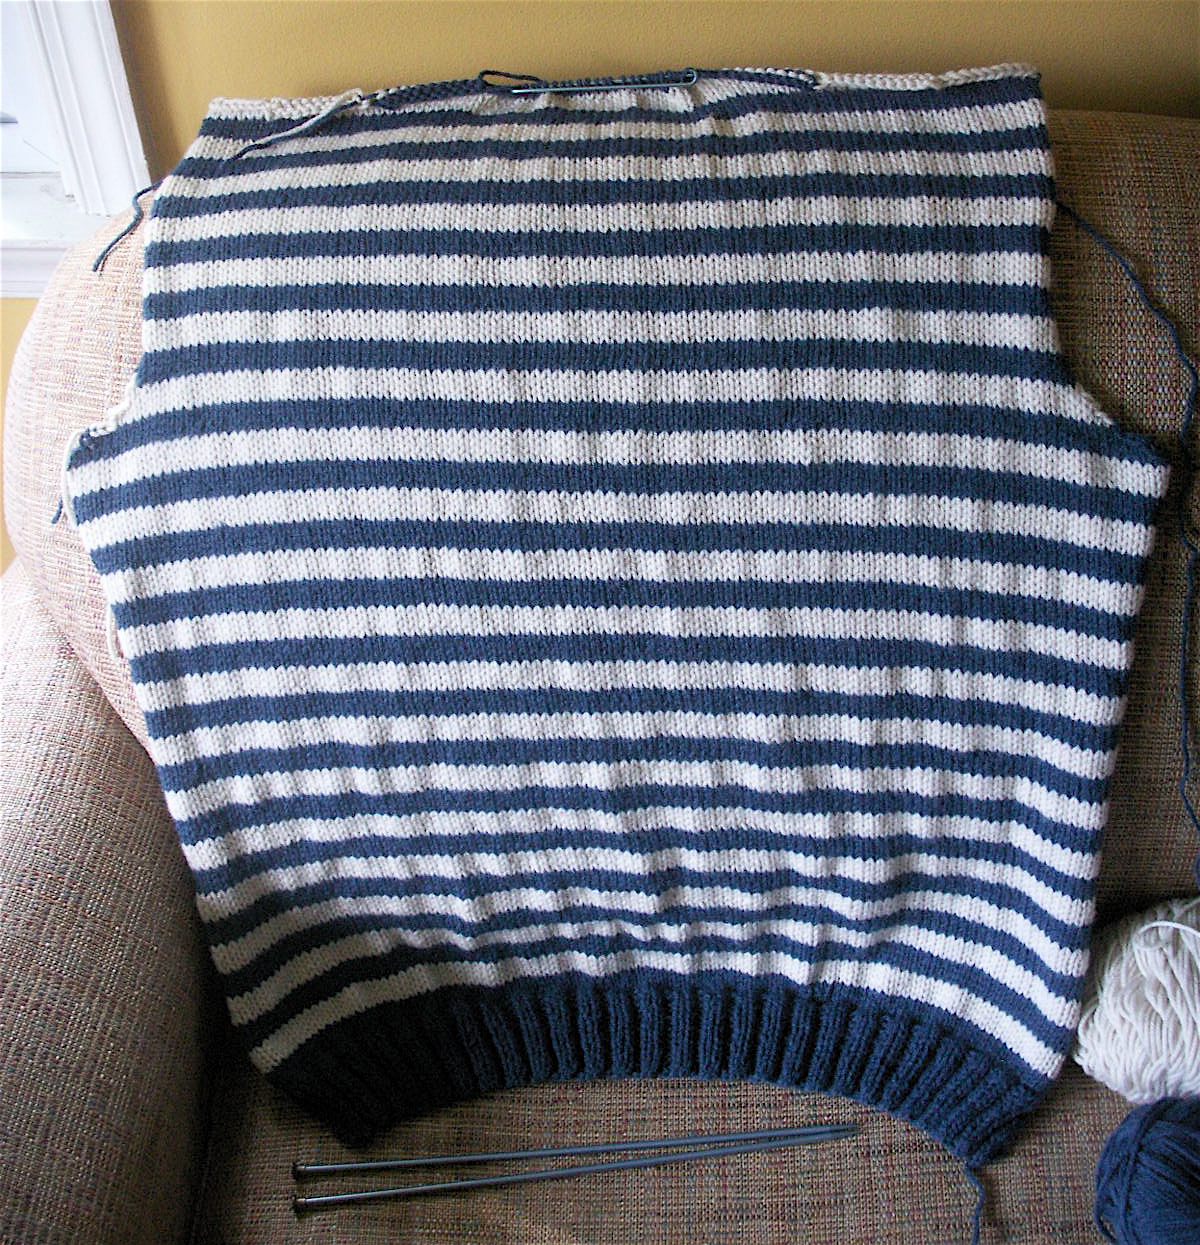
Even the sweater I wound up needing to pull out today and start over. I'm pecking away and learning a lot. Remember, I give instructions for an simple bear sweater under my bear clothes category. I'll let you know how it goes.
Thanks Lorraine!


 Well Skittles had something she wanted to tell me first. She seriously wouldn't move until she told me.
 I'm happy with this simple sweater. Next time I think I'll incorporate the button band into the front pieces so that I have 1 less step. I would just put the collar on last in that case.
 I'll tell you why I had a hard time with this, I never really knew the rules for picking up stitches along a side. Since this needed a certain number of stitches I needed to figure it out. One rule which you should know and what I've tried to indicate from the photo above is to pick up stitches from a row just like when we were sewing the sleeves on. The row above the ruler is the row we're going to pick up from.
 The next rule I learned was that a row of stitches are shorter than their length. So when picking up from the side you need to skip some stitches so your band doesn't knit up longer than your piece. You can use different calculations for different pieces but I picked up 2 stitches and skipped 1. I make sure I always get the first and last stitch so I'm even at the ends.
 We're starting on the left front piece. With the front facing me I've picked up the 19 stitches. This is the button hole side, we'll start hard. Remember my sweater is 4 1/2" long with the collar knitted on.
 Row 2 (RS): K1, P1, yo, P2 tog, K1, P1 3 times, yo P2 tog, K1, P1 2 times, P2 tog, K1
 Yarn over making sure yarn is in the front because the next stitch is a purl.
 Purl the next 2 stitches together.
 1 yo, 1 purl and the next stitch is a knit.
 This is what it will look like.
 The yellow pins are where the button holes are.
 Row 4 (RS): BO in pattern


