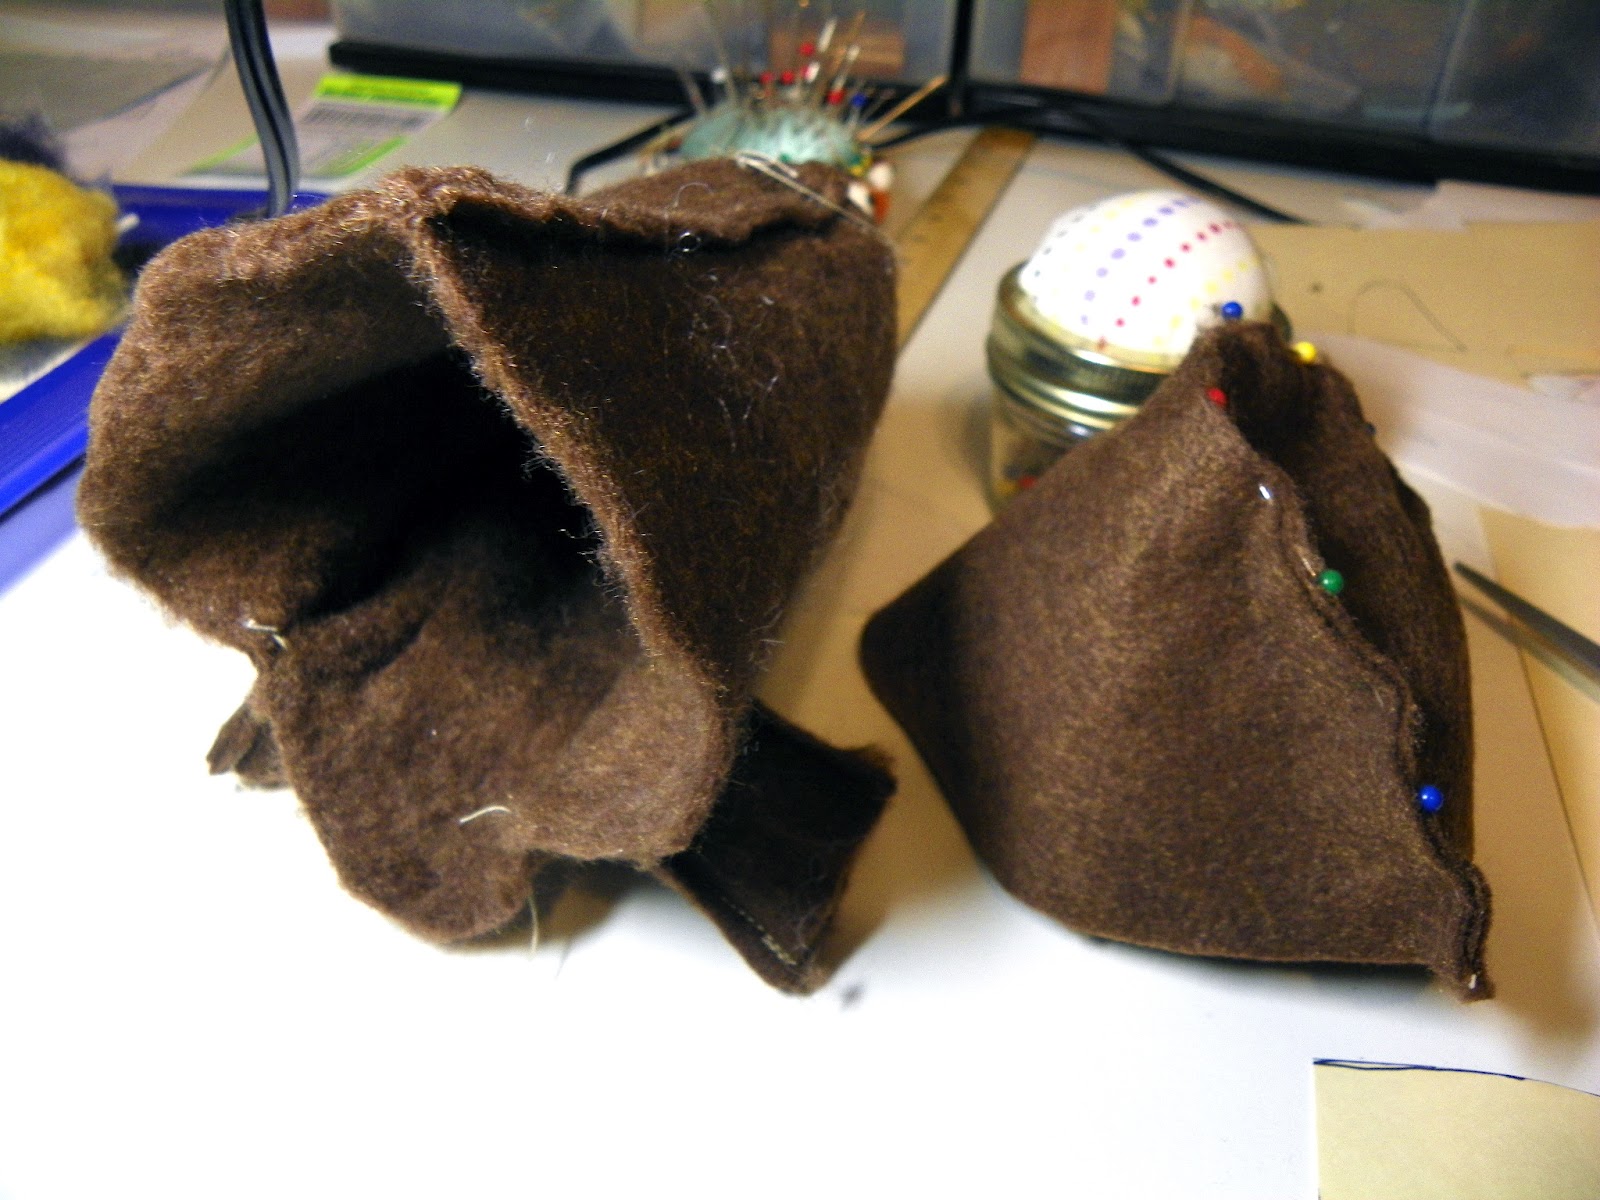
I was requested to make a monster that I had never heard of.
I had to poke around first to find out what I was dealing with.
I needed reference for what it was and how to make such an item.
Modify, modify, modify! This is the proto-type.
I borrowed the back end from an elephant at my favorite pattern site: Nuno Life
Then I had to create a large smiling/grimacing head. Oh and his butt needed weight so I added pellets.
His name is Alot and I like him a lot.
You'll find Alot and other interesting characters at: Hyperbole and a Half
If you have an interest in this pattern I'd be happy to share it with you free of charge. You can easily contact me through my Etsy shop.
Showing posts with label modifying patterns. Show all posts
Wednesday, July 25, 2012
Wednesday, March 28, 2012
What Do You Do...
when your son looks for shorts in the stores and turns around and says to you, I can make shorts myself???
You say, well the fabric store is thankfully right there let's go get fabric!
We used the pattern we used for his pajama pants and made a modified fly in the front. We took almost 2 inches off the long edges of the pattern for a trimmer fit.
His new thing is drilling money to make buttons and I dragged out my buttonhole maker.
Yes and he actually sewed a lot of it. He's sewing the test pair here that we put together from old sweatshirts. Good job Gil!
You say, well the fabric store is thankfully right there let's go get fabric!
We used the pattern we used for his pajama pants and made a modified fly in the front. We took almost 2 inches off the long edges of the pattern for a trimmer fit.
His new thing is drilling money to make buttons and I dragged out my buttonhole maker.
Yes and he actually sewed a lot of it. He's sewing the test pair here that we put together from old sweatshirts. Good job Gil!
Labels:
homemade,
homeschool,
homeschooling,
modifying patterns,
pattern,
shorts,
simple pattern
Saturday, February 18, 2012
Sweater Holdup
How can such an easy, quick knit sweater take so long???
I can't tell you how many times I took bits apart and started over
I could still fix many things but I won't allow myself. The next one like this I'll do in my sleep!
This is the before picture. I removed the top and did it over from bottom to top. It had too many stitches at the sleeves. Using the yarn backwards made a neat design at the top. I will copy this sweater soon. I'll start at the bottom this time because I think decreasing stitches looks better than making them. Now I'm free to move onto other projects!
I can't tell you how many times I took bits apart and started over
I could still fix many things but I won't allow myself. The next one like this I'll do in my sleep!
This is the before picture. I removed the top and did it over from bottom to top. It had too many stitches at the sleeves. Using the yarn backwards made a neat design at the top. I will copy this sweater soon. I'll start at the bottom this time because I think decreasing stitches looks better than making them. Now I'm free to move onto other projects!
Wednesday, March 30, 2011
Roving Footbags
My new roving came today. I made a trade for it with an Etsy seller. I'd tell you who she is except she doesn't own her goat any longer. Boy is this stuff gorgeous, we have lots of needle felting plans!
Ok, do you remember the footbag I made for Gilbert? Well we shortened our pattern a bit and came up with the perfect bag. The one on the left is a sand filled footbag Gil got at a store.
We were going to buy play sand for it but I saw this decor sand at Michaels the other day. I even thought it might work better. It does, Gil actually said it "stalls" better than the store bought bag, hacky sack talk. There is a whole footbag community world wide and you can learn more about it at this site:
www.footbag.org
I don't know how this will print up but here's our new pattern. You will need 8 panels to make the footbag and I sewed a 1/4" seam.
Ok, do you remember the footbag I made for Gilbert? Well we shortened our pattern a bit and came up with the perfect bag. The one on the left is a sand filled footbag Gil got at a store.
We were going to buy play sand for it but I saw this decor sand at Michaels the other day. I even thought it might work better. It does, Gil actually said it "stalls" better than the store bought bag, hacky sack talk. There is a whole footbag community world wide and you can learn more about it at this site:
www.footbag.org
I don't know how this will print up but here's our new pattern. You will need 8 panels to make the footbag and I sewed a 1/4" seam.
Labels:
beach ball,
footbag,
modifying patterns,
needle felting,
roving
Wednesday, March 23, 2011
Teddy Bear Dress: The Back
We're basically doing the same as the front but now there's 2 pieces. Remember I ironed down the top of the liner straps 1/4". I sewed around the neck and the arm holes but left the tops of the straps open.
This is again where I do my own thing. Instead of using these tabs to sew Velco to I'm turned them in and sewed them down. Avoid ironing the bottom half for now.
Ironed down.
I've sewed the 2 backs together in the middle from the bottom til 1/4" into the tabbed area.
Then I pressed it out at the bottom.
With front sides together I sewed the tops of the straps, front and back right where the linings are folded down. Try to match them up.
Now you can see that the rough edges tuck right in in the back openings.
With both sides connected to each other at the straps I sewed all around the neck including the back opening.
And gave a another good press.
Tomorrow the exciting conclusion!
The above step is complete.
The pieces get turned and ironed. Here is the back and front turned.
This is again where I do my own thing. Instead of using these tabs to sew Velco to I'm turned them in and sewed them down. Avoid ironing the bottom half for now.
Ironed down.
I've sewed the 2 backs together in the middle from the bottom til 1/4" into the tabbed area.
Then I pressed it out at the bottom.
With front sides together I sewed the tops of the straps, front and back right where the linings are folded down. Try to match them up.
Now you can see that the rough edges tuck right in in the back openings.
With both sides connected to each other at the straps I sewed all around the neck including the back opening.
And gave a another good press.
Tomorrow the exciting conclusion!
Tuesday, March 22, 2011
Teddy Bear Dress: The Front
I mentioned earlier today that I was thinkin of modifying the dress pattern for a more rounded neck line. you may also notice that I already modified the pattern by not sewing in the darts. This gave the dress more room for a teddy bear.
I got out my tracing paper and got started. The lining piece needs to be 3/4" longer to make up for the missing darts.
Now both pieces are modified.
The front is on the fold and the back is in the middle.
Everything is cut out and accounted for.
The liner shoulder edges get ironed down a 1/4". You'll see why later.
The neckline and arm holes get sewed leaving the shoulder tops open.
I turned the front and liner and ironed it.
Tomorrow we'll do the back.
I got out my tracing paper and got started. The lining piece needs to be 3/4" longer to make up for the missing darts.
Now both pieces are modified.
The front is on the fold and the back is in the middle.
Everything is cut out and accounted for.
The liner shoulder edges get ironed down a 1/4". You'll see why later.
The neckline and arm holes get sewed leaving the shoulder tops open.
I turned the front and liner and ironed it.
Tomorrow we'll do the back.
Thursday, July 1, 2010
30 Days of Bears
Hey Charlene, are you starting today?
Monday, April 19, 2010
She Looks Happy
Even Simpler Bear Sweater
worsted weight yarn
gauge 18 sts = 4"
fits 12"- 14" bear
Back
CO (21) 27 stitches- (a skinny bear like mine) above size
Row 1: K1, P1 rep
Row 2: P1, K1 rep
Row 3: K1, P1 rep
Row 4: P across (WS)
Row 5: K across (RS)
Measure your bear from the neck to just above the leg. Mine is 4 1/2".
Rep rows 4 & 5 until the back is your bears length.
Next and last row: BO (4) 6 sts, K/P (13) 15 sts and place on holder, BO (4) 6 sts
Easy so far!
Labels:
bear clothes,
knit,
modifying patterns,
simple pattern,
sweater,
tutorial
Friday, March 26, 2010
Overseer
One problem I noticed was the joints were too close to the front and back seams. In the back her feet went out and in the front they went in. Putting the joints in a bit will hopefully help. I also found that the material I was using stretched up and down a lot. I'm using a slightly thicker felt this time.
Wednesday, March 17, 2010
Learning Experience
I'll need to pick up more supplies at the hardware store.
Subscribe to:
Posts (Atom)
