In my post about Scrabble charms I mentioned different types of liquid coating you could use to seal your pictures with. The one I could find locally and was suggested was a product called Paper Glaze. Here is the post:
http://karenmakesstuff.blogspot.com/2011/02/scrabble-charms.html
I had a few problems with it but this one makes it useless. If you have more than one charm and they happen to lay on each other, they can stick together. In this case the paper was peeled off the Scrabble piece. If you'd like to do this project, which is very cool, find some Diamond Glaze and give that a try. Steer clear of the Paper Glaze!
Showing posts with label charms. Show all posts
Thursday, April 7, 2011
Sunday, February 13, 2011
Copper Charm Bracelet
I wouldn't be very nice if I didn't show you how to make a simple copper bracelet for your charms. I already have the 18 gauge wire and if you don't, Lois at "A Beaded Affair" carries all sorts of copper supplies. She's in my blog list. You will need to pick up a pack of copper lobster clasps and a pack of different sized jump rings. My local Michaels' sells these. I also have a ruler, small paint brush, wire cutters, flat nose and needle nose pliers and a metal file.
Begin by setting out your jump rings along the ruler. The basic bracelet size is 7" - 7 1/2". We're using the bracelet I made as an example. Next we're cutting 7 + 1 pieces of wire, 2" long.
I cut an extra for mess ups so I don't have to go back and do an old step.
File the ends of these wires so they don't catch on things.
Using your needle nose pliers and starting at one end of your wire begin forming a loop.
Make the loop touch.
Do the second end.
You can leave them like this or bend them back a bit like the above picture, it's up to you.
You'll notice that all our components stretch out to 8" but when it's put together it will be the size we want.
I've used smaller jump rings at the loop ends and bigger jump rings at our double ends. Slide the small jump rings into the loops, open the big jump rings with your flat nosed pliers and thread on your double ends. Be mindful of the fronts and the backs, you'd like them all going the same way.
Keep working across.
And in no time you're done!
This bracelet would be good for 1, 3, 5 or 7 charms.
Simple and pretty!
Begin by setting out your jump rings along the ruler. The basic bracelet size is 7" - 7 1/2". We're using the bracelet I made as an example. Next we're cutting 7 + 1 pieces of wire, 2" long.
I cut an extra for mess ups so I don't have to go back and do an old step.
File the ends of these wires so they don't catch on things.
I found my small paint brush to be the right size for bending my wire pieces on. Bend each in the center.
Make the loop touch.
Do the second end.
You can leave them like this or bend them back a bit like the above picture, it's up to you.
You'll notice that all our components stretch out to 8" but when it's put together it will be the size we want.
I've used smaller jump rings at the loop ends and bigger jump rings at our double ends. Slide the small jump rings into the loops, open the big jump rings with your flat nosed pliers and thread on your double ends. Be mindful of the fronts and the backs, you'd like them all going the same way.
Keep working across.
And in no time you're done!
This bracelet would be good for 1, 3, 5 or 7 charms.
Simple and pretty!
Labels:
bracelet,
charm bracelet,
charms,
copper jewelry,
jewelry,
tutorial
Monday, February 7, 2011
Scrabble Charms
For a long time I've admired Scrabble charms by artists on Etsy.
It looked hard to do, I figured resin and such.
But there are great glazes that do the same thing. They coat and leave a glass like finish.
One's called Diamond Glaze, but Michael's carries Paper Glaze by Aleene's. I just finished glazing so I'll let you know how they look tomorrow. Really, the hardest part is finding small enough pictures. You can't use an ink jet printer because the ink will bleed. I cut up cards and magazines. This will be fine because I'm giving them as gifts.
I'm also waiting on some bails that will glue to the back in order to make them into charms. My friend was talking about drilling and such. I would have to experiment with the drilling thing. Since the Scrabble piece is soft wood maybe I could just screw in an eye screw. I think I have a couple laying around.
The reason I decided to make my own was the letters themselves. If you buy a Scrabble charm they give you whatever letter was used at the time. I can choose my letters to make words or initials!!!
There are some good tutorials so check them out.
Wednesday, July 7, 2010
Beaded Eagle Charm
Friday, April 9, 2010
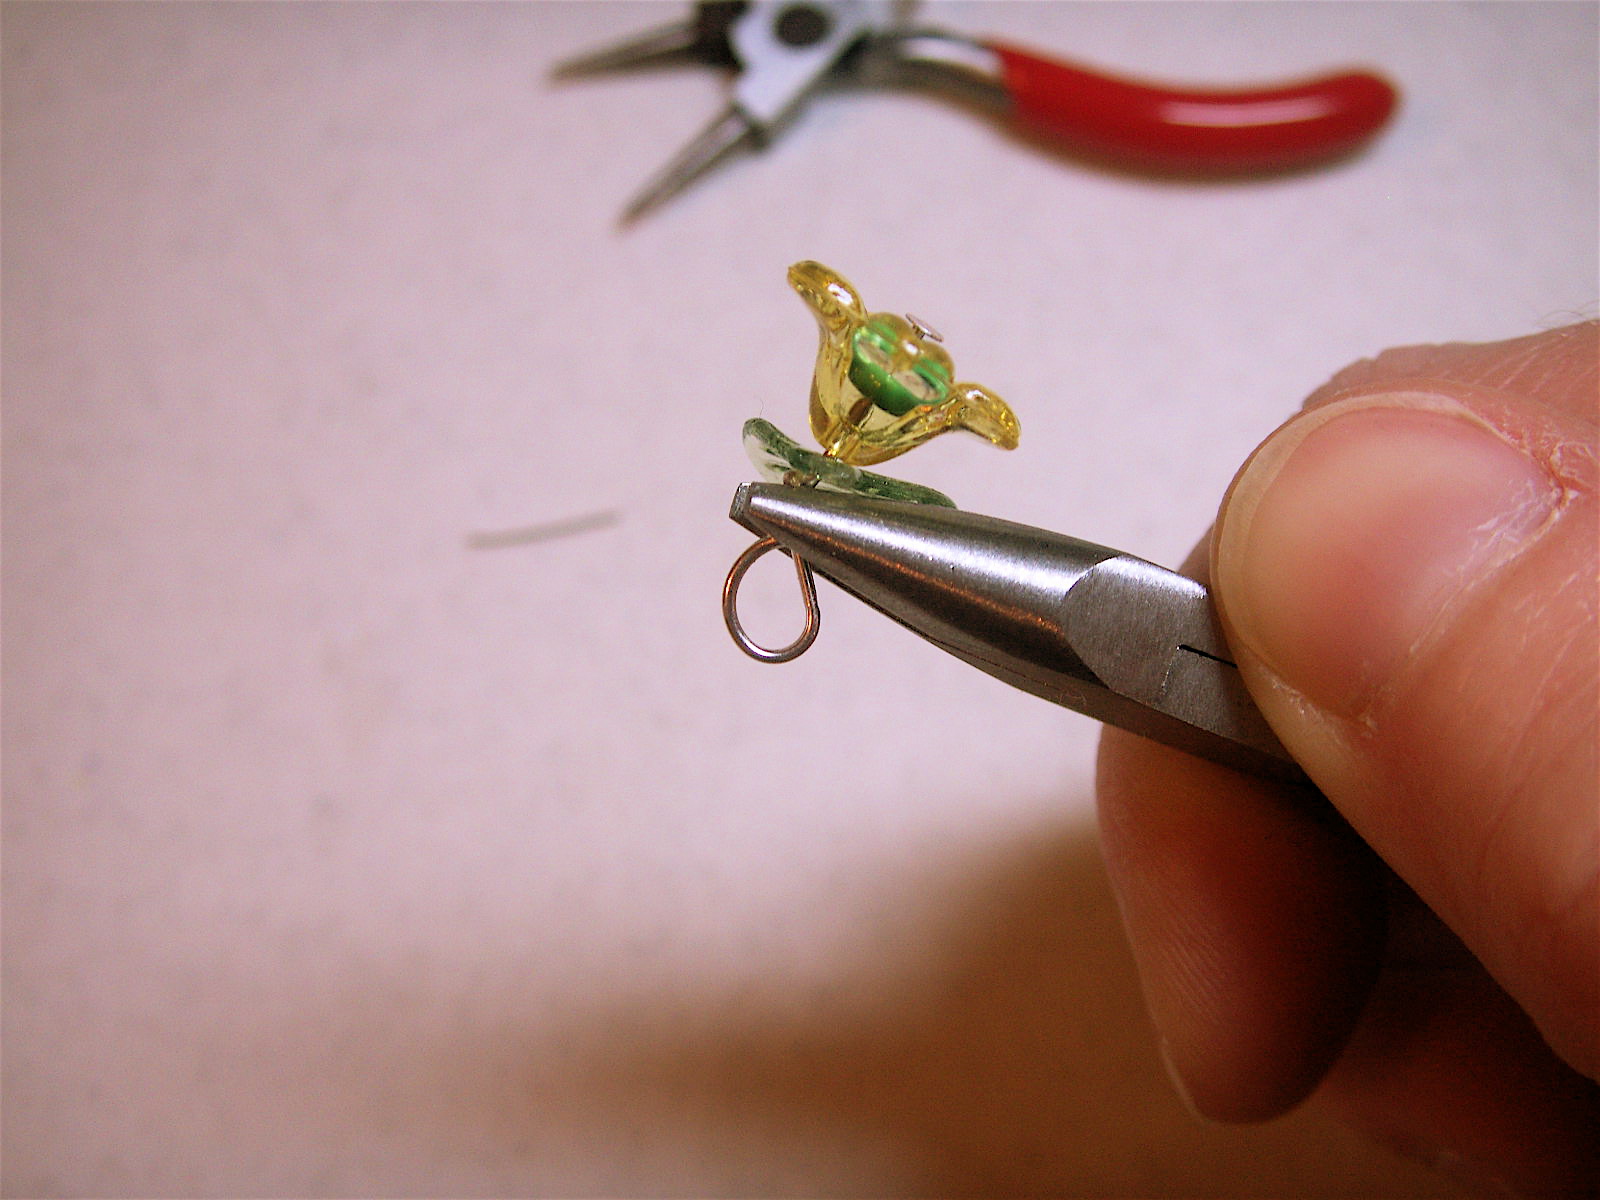
Head Pins 2
Real quick I'll show you how I put the charms right onto the chain. Obviously you can't close the loop if it goes on a closed ring.
Head Pins
I'm learning to do this myself and I'm showing you how it's going for me. If anyone whats to suggest a good tutorial somewhere else let us all know!!!
Thursday, April 8, 2010
I Did It!
Tuesday, March 30, 2010
Since You're Not Using It
This is my escape to buddy. I'm gonna be hauling myself up to her place again soon and she's gonna give me a jewelry lesson. This is a necklace she whipped together for a young ladies birthday gift. A themed Alice in Wonderland birthday. A lot more elaborate than what I did yesterday. I figured since her blog features pictures of the town she lives in she wouldn't mind me borrowing her craft.
Monday, March 29, 2010
Simple Necklaces
Today I pulled my necklace making stuff out again. Yes I said again because the first time I pulled it out I discovered that the crimps I bought were not going to thread a double thickness of cotton. I don't like the thought of knots coming undone so I went with crimps and I'll show you what I did.For this project I bought some waxed cotton, charms, beads, lobster claw clasps, closed jump rings (I'm afraid open ones will open) and crimps with the largest hole I could find. The crimps I bought also made nice beads.
Subscribe to:
Posts (Atom)