Showing posts with label brooch. Show all posts
Sunday, May 26, 2013
Thursday, March 14, 2013
I Want to be Needle Felted
William
I turned around today and found William in the middle of my needle felting.
I also had Simon up in the crow's nest, I am never alone!
Simon
I'll show you a couple things I've been doing in between bear stuff. A wool brooch for my friend Fran, don't tell.A pumpkin for... whatever I made a pumpkin using my yarn method.
The trick is getting the yarn into the shape you want.
Labels:
brooch,
cats,
needle felt,
needle felting,
pumpkin,
wool brooches
Monday, December 17, 2012
Thursday, September 6, 2012
Fabulous Flower Pins
Labels:
brooch,
crochet,
crochet flowers,
flower,
needle felt,
needle felting,
pansy,
pin,
pin back
Wednesday, September 5, 2012
Crocheted and Felted Flower Pin Tutorial
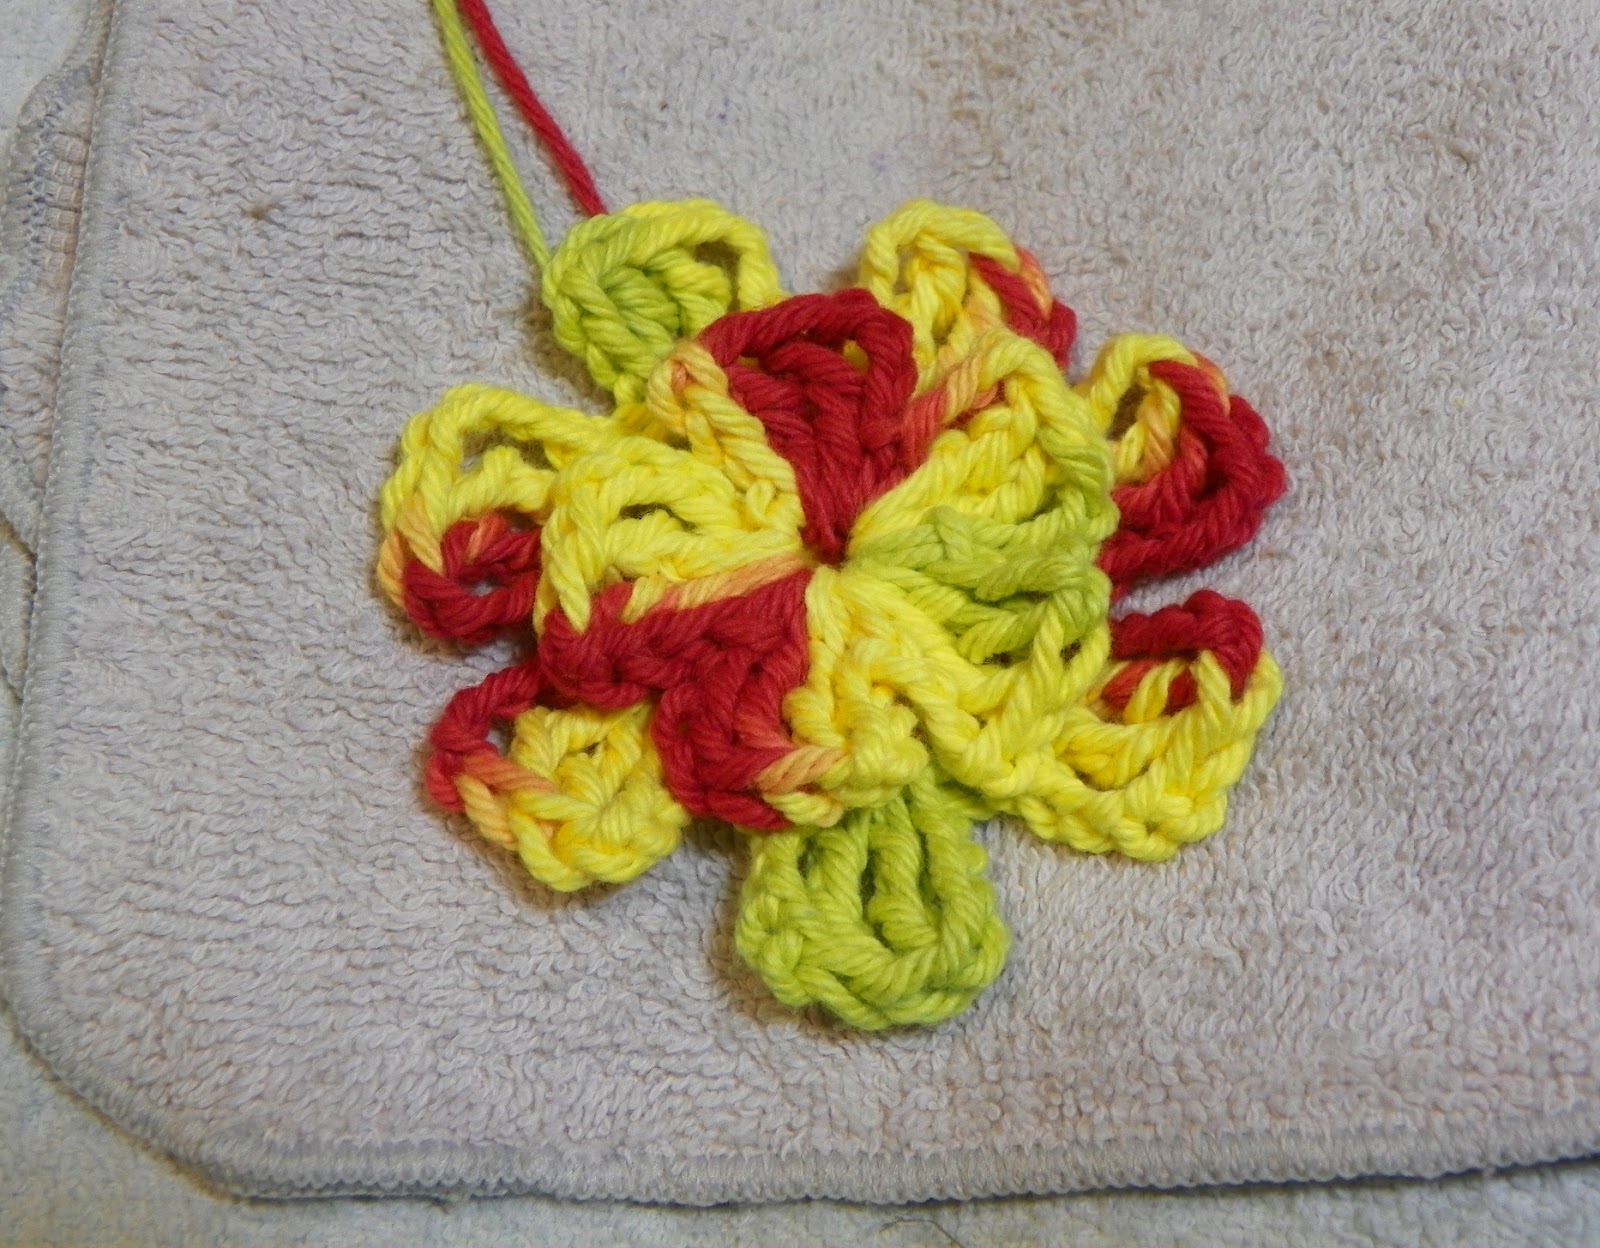
A while back I went to town crocheting flowers for appliqués. I am now sick of looking at them, I needed to make them useful items.
I had an idea, here we go, I'll take you through it. I sewed the little one on top of the big one at the center.
They don't have to be the same color, just complimentary.
Now you'll need your needle felting wool. Pick a bright complimentary color for a center.
Get poking...
stick to the center...
you can leave it a bit fuzzy, felt it tight, large, small. I choose what looks best as I go.
Then I grab a pin back and use any remaining yarn to sew in on. You can also use thread if there's no extra yarn.
Tada!
Here are some others, all different, all cute and all fun to make!
I had an idea, here we go, I'll take you through it. I sewed the little one on top of the big one at the center.
They don't have to be the same color, just complimentary.
Now you'll need your needle felting wool. Pick a bright complimentary color for a center.
Get poking...
stick to the center...
you can leave it a bit fuzzy, felt it tight, large, small. I choose what looks best as I go.
Then I grab a pin back and use any remaining yarn to sew in on. You can also use thread if there's no extra yarn.
Tada!
Here are some others, all different, all cute and all fun to make!
Labels:
brooch,
crochet,
crochet flowers,
needle felt,
needle felting,
pin,
pin back,
tutorial
Saturday, August 25, 2012
Friday, July 27, 2012
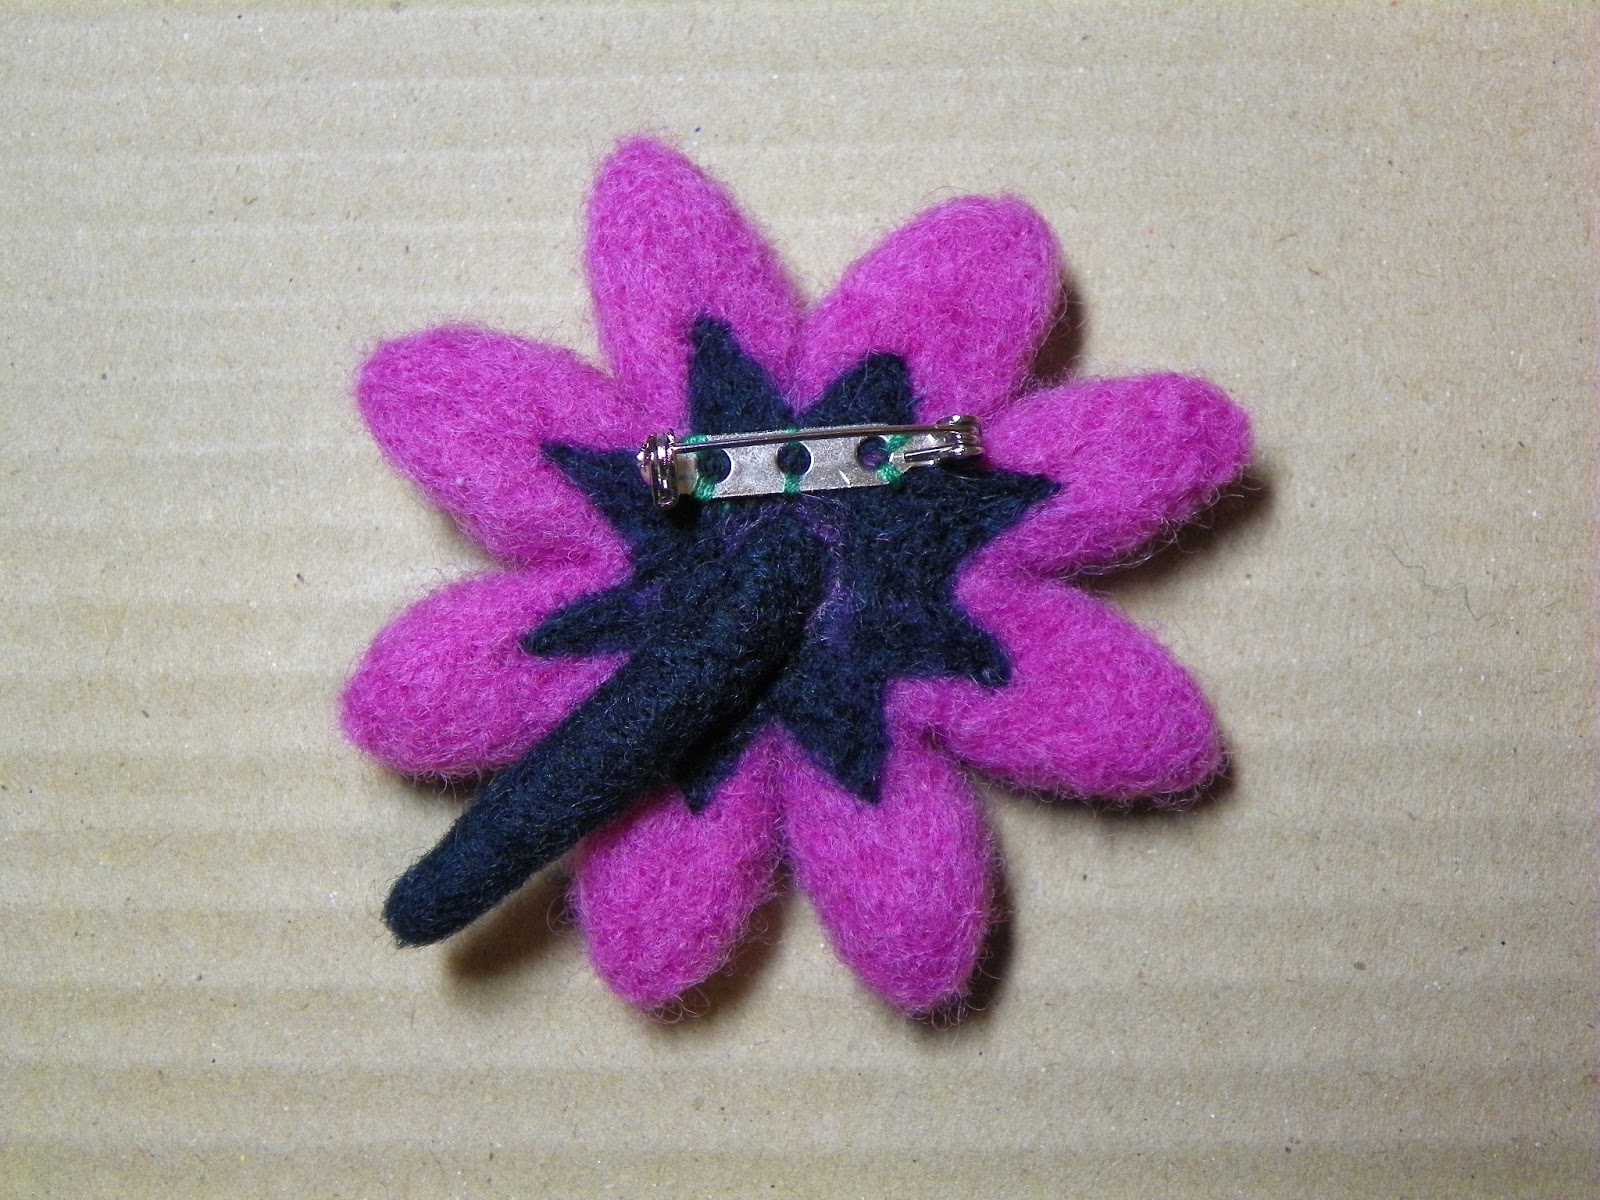
Felted Wool Pins
Trees are always great...
but so are flowers.
I make a variety...
that way I never get bored!
I think I'll do a flower next.
Tuesday, July 17, 2012
Trees On My Mind
Now this is the way to start the day!
Made these yesterday afternoon... don't worry on Friday I'm taking a lesson in oil painting with Charlene. They were still fun to do though.
Labels:
brooch,
maple,
needle felt,
needle felting,
oil painting,
pin,
tree
Thursday, June 7, 2012
Fiber Art Pillow
I've been enjoying the fiber art lately but had wondered what to do with this piece. What type of finish, framed or backed? All of a sudden I knew what to do.
The craft stores have these wonderful thick pieces of wool sheet felt they sell now.
I grabbed an orange piece and sewed it on, right sides together.
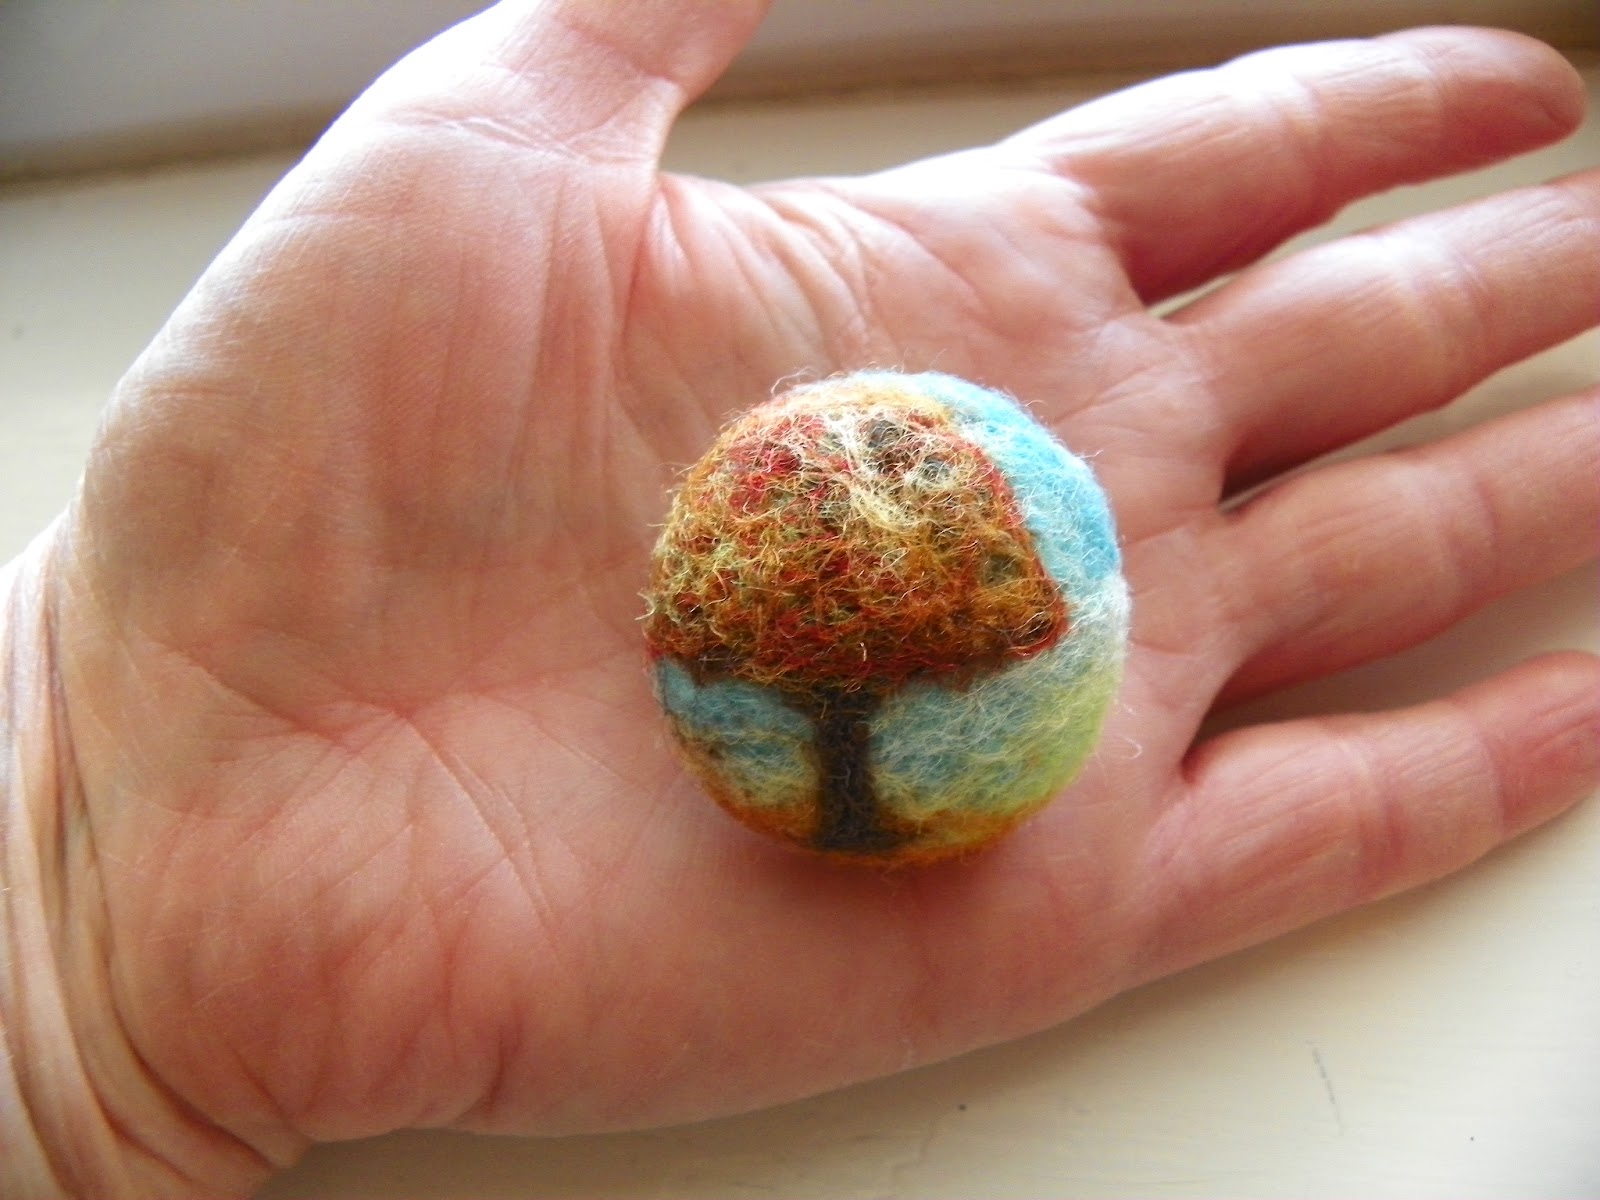
Ta dah, a pillow! I had already made a brooch with this tree, together they'll make a special gift.
The craft stores have these wonderful thick pieces of wool sheet felt they sell now.
I grabbed an orange piece and sewed it on, right sides together.
Ta dah, a pillow! I had already made a brooch with this tree, together they'll make a special gift.
Saturday, May 12, 2012
Sunday, April 29, 2012
While Waiting
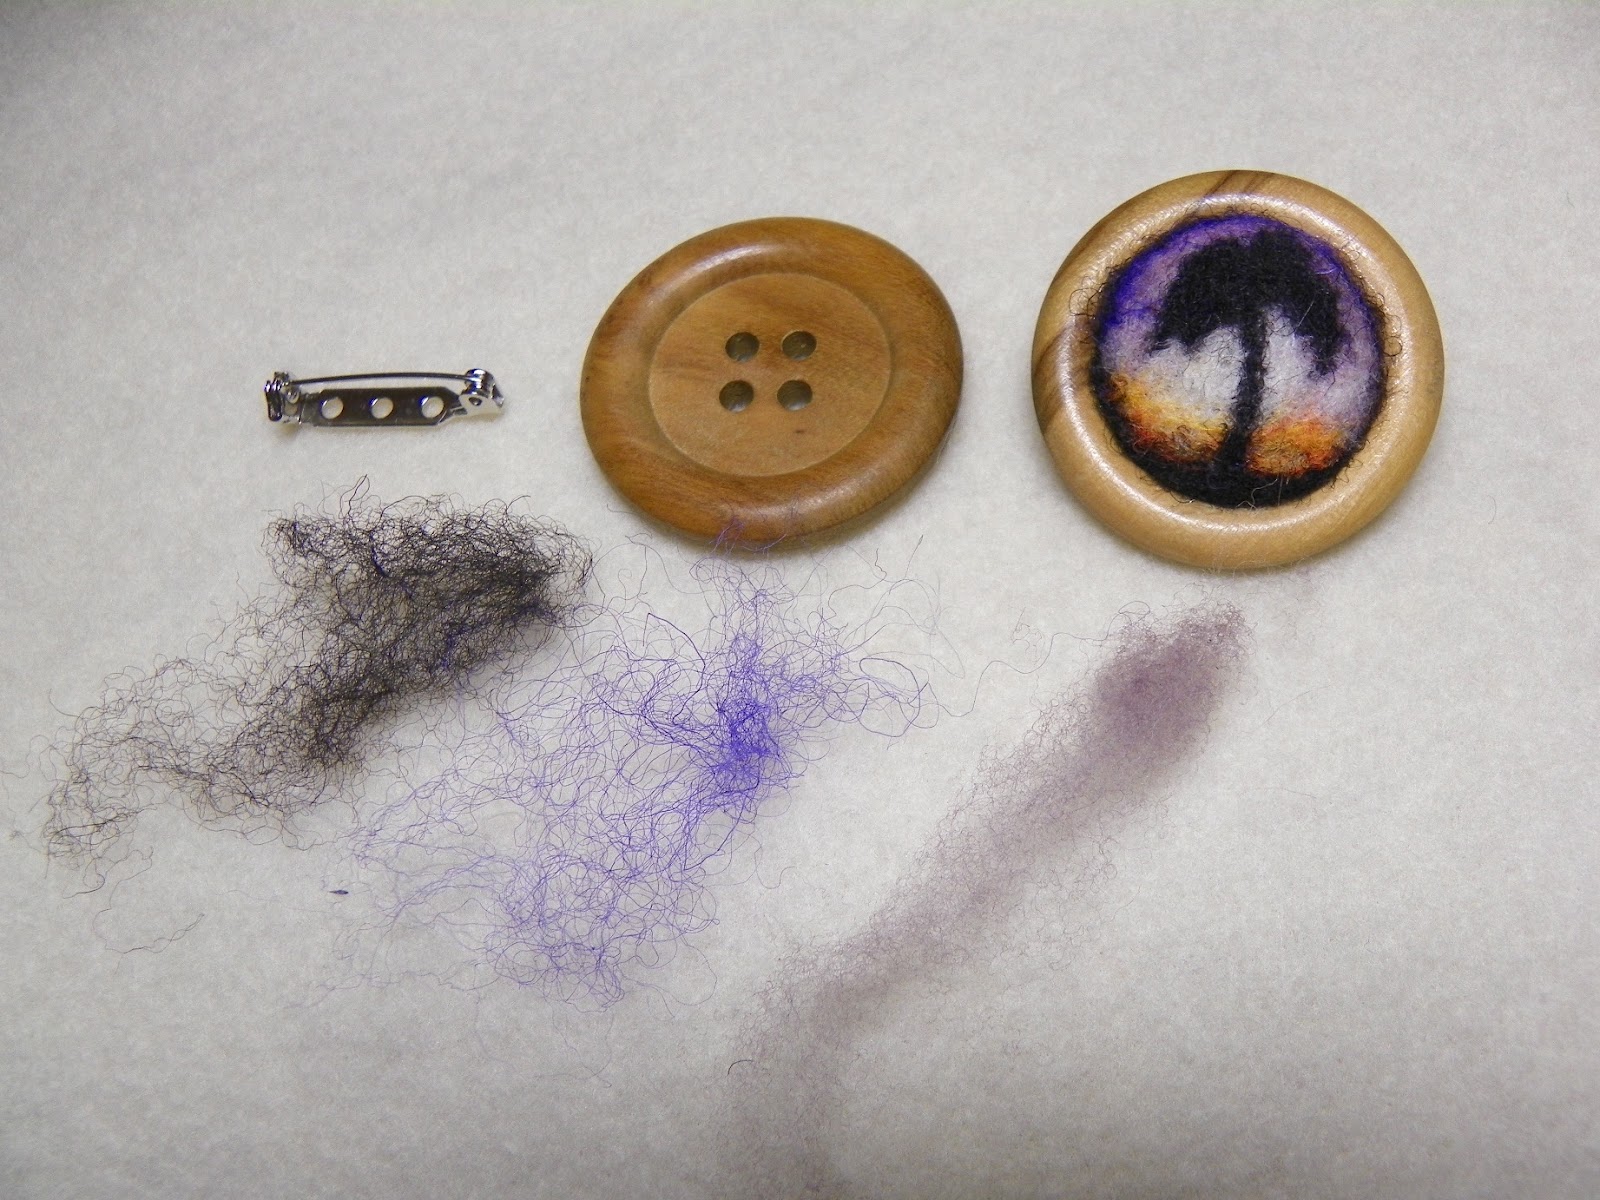
Yesterday was wait for Gilbert to get home day. Normally we pick him up at the farm but farmer Wes brought him down. So while I waited I made another tree button brooch.
When he finally walked through the door he looked 8 foot tall wearing his Amish straw hat! Hugs all around!!!
Labels:
brooch,
hat,
needle felt,
needle felting,
organic farming,
tree
Thursday, April 26, 2012
Button Brooch
When it's time to make a special gift I often turn to an admired project that someone else does. This is one I've wanted to try myself.
Of course that means trying to figure out how they did it.
Something that looks simple isn't always! The button is 1 5/8".
My advise, I started with a flat piece and then rounded it. Instead work on a rounded piece so your art doesn't get over worked.
Of course that means trying to figure out how they did it.
Something that looks simple isn't always! The button is 1 5/8".
My advise, I started with a flat piece and then rounded it. Instead work on a rounded piece so your art doesn't get over worked.
Subscribe to:
Posts (Atom)