


 I really need to take some pictures of my kids, it's been a while. I've got tons of craft pictures though. Anyway I bring up the kids because this necklace was made by my daughter and I didn't have a picture of her to put with this post. She's quite the artist herself but she doesn't normally have time to be artsy. Now that she's on summer break and she's gotten the sleep she requires, she wants to do stuff.
 She was interested in the hand knotted beading, on silk thread, that I had done. A super quick lesson and a hand full of beads was all she needed. Good job Ro!
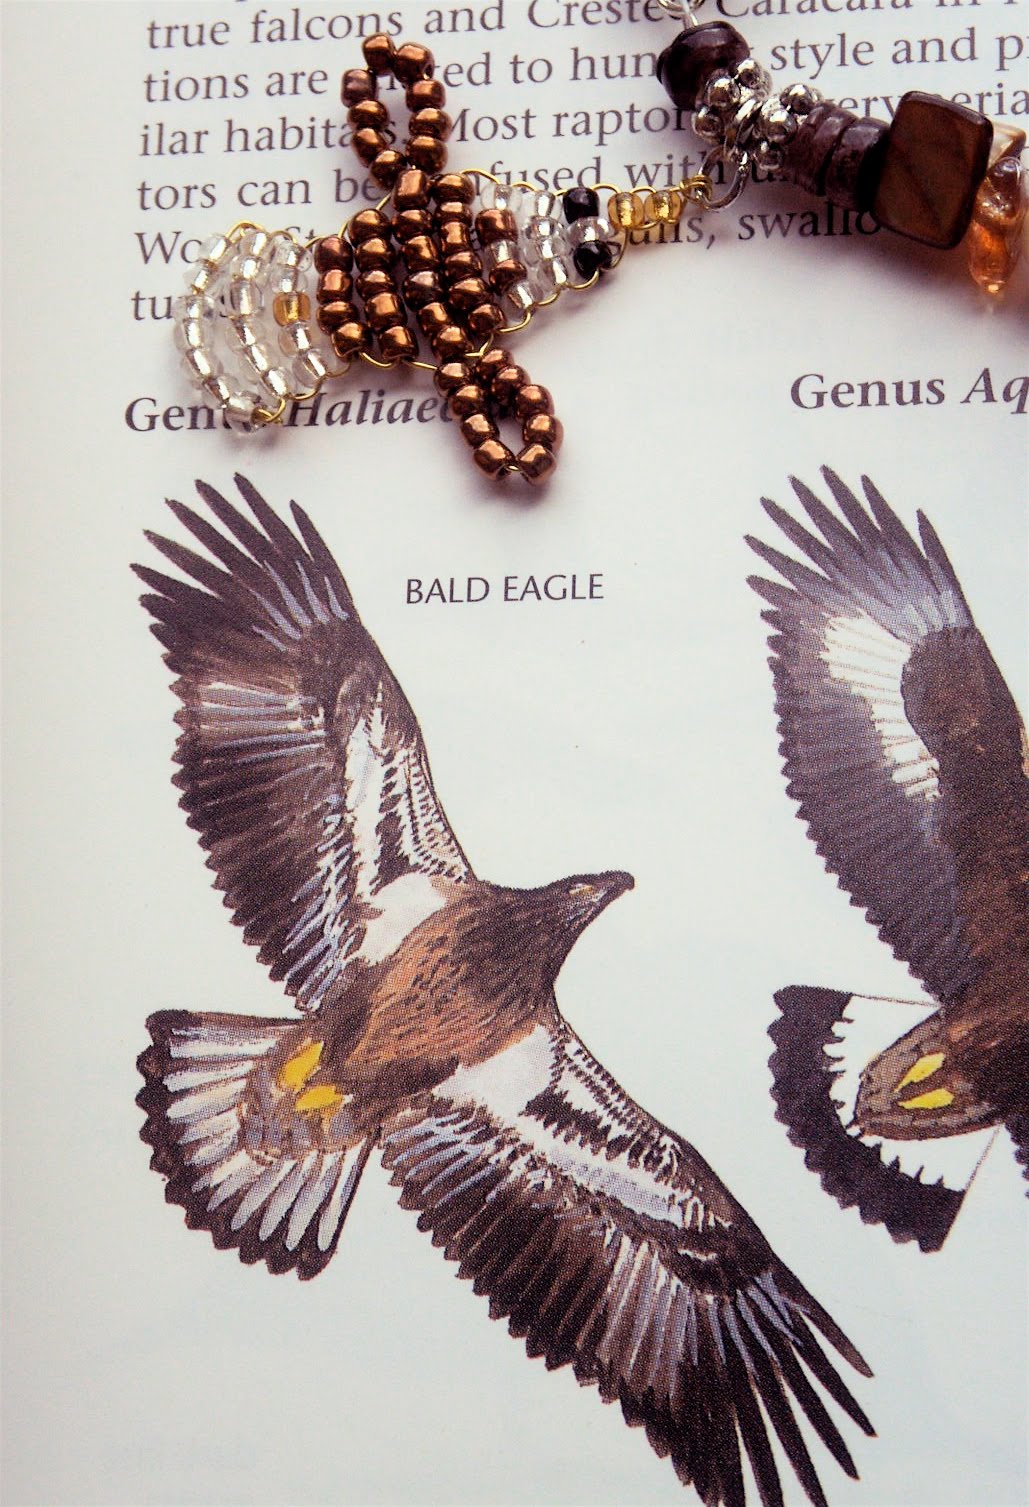 Bald Eagle
 American Kestrel
 Osprey
 I have this sorta rule for myself, I don't use birds in my art work unless I've seen them. Trust me, it's been a treat to see every one of these birds. Honestly, the American Kestrel was the most interesting, the black spots on the back of their heads look like large eyes. This made him, at first, look almost like an owl. Very cool. All these birds can be seen from time to time at the John Heinz National Wildlife Refuge in Philadelphia.
 My simple tools and washcloth are still working for me.
 With this bracelet I played around with many different designs. One thing I wanted to share is that you should always try stuff on. Just because it looks good on the counter doesn't mean it will look good on a persons arm.
 I tried not to leave anyone out. This bracelet represents most of the birds that come to my feeder. Don't worry I have a list!
 I have to pick up a toggle for it but that was a lot of fun!
 This bracelet is called Family of Cardinals. I thought the three strands would lend itself to this.
 Trust me, I have more Cardinals in my backyard than I know what to do with. They are all year residents. My step mom in Florida has to sprinkle her Cardinals with the hose everyday. They yell at her if she doesn't.
 The Name That Bird game is the fun new game I play with my family. As much as they hate seeing me approach with a new bracelet to test them with they also like getting the bird right.
 So what do you think it is???
 I go to the John Heinz National Wildlife Refuge to see these guys.
 I thought today I'd show you my process. You may have noticed I use a washcloth to keep my beads in place. For me this works well. I've even been using the edgings and stripes of this particular washcloth for measuring, rough measuring!
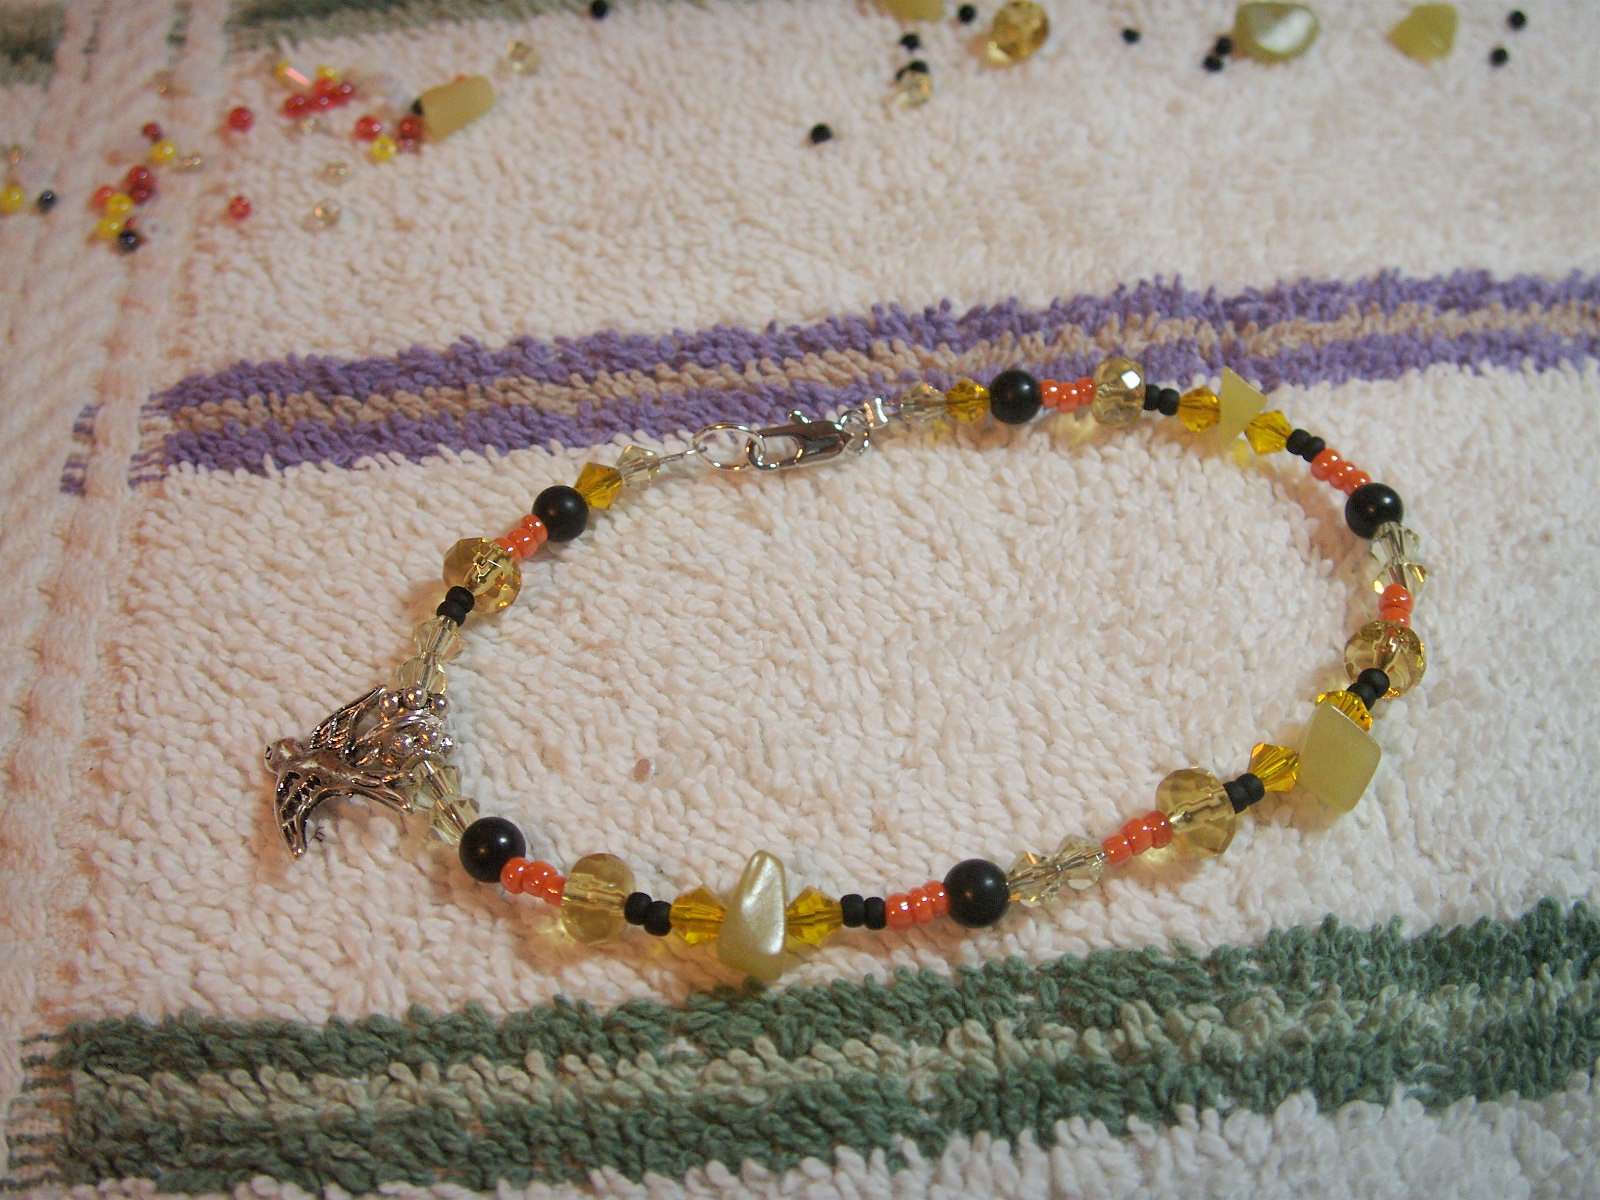 Finished bracelet.
 These little guys are practically landing on you if you don't fill the feeder fast enough.
 One of my favorite birds.
 I think I'm just gonna keep going here and see where it takes me.
 String your next bead and start your next loop.
 Attach your next wire...
 ...and finish your loop.
 We're starting to get somewhere.
 Add another bead and go as long as you'd like.
 When I make my own chain I feel as though I'm doing something that my ancestors might have done, like a lost art. Excuse my being mellow dramatic but this was really cool to learn for me. I can't wait to tell you about my first granny square, my grandmom would be so proud!
 Oops, maybe I forgot to tell you to make one loop on several pieces of wire. Take your first wire and string a bead on it. We're going to begin to make a loop on the other side using our round nosed pliers.
 Attach another wire that you've made to this partially made loop.
 Then using your round nosed pliers take the wire right around to form a loop.
 Twist under your loop making sure your first loop is there and out of the way!
 Like so.
 I'm using my nippers to snip off any excess wire and my flat nosed to make sure it all lays flat.
 We'll start with round nose pliers, I'm down about 1/2".
 Round the wire over the pliers.
 At this point sometimes I find I need to reposition my work...
 ...and put it back on the pliers to twist.
 The flat nosed pliers press it down nice.
 And there you go. Gosh, I made it look easy. I must be honest, remember that practice I was talking about, you'll need it. If your loop isn't round, shove it back on your round nosed pliers again. If it's not flat take the flat nosed pliers to it.
 You are ready for your first bead!
 Charlene's neighbor gave her some copper wire, happy day! She had already showed me a necklace she had made from silver wire. She made a small loop at the end of a wire, strung a bead on it, repeated the process and connected them between jump rings. Wow, you can make your own beaded chain, what a revelation. I couldn't wait to try it out.
 She sent me home with some stranded copper wire and this is what I came up with. I'll see if I can show you how I did it tomorrow.


