How about a neat project to do with the kids. The second graders love this one. Each year the kids learn about the Arctic and its animals. This air dry dough is easy and inexpensive. Plus the kids make it themselves!

Fox, hare, polar bear and weasel.

Not a long ingredient list but don't get out the washable school glue for this one. One slice of white bread per project with a slice set aside in case you're heavy handed with the glue. It's more mess free if you use a disposable plastic cup and popsicle stick but you can use a regular cup and spoon.
Take the brown crust off the bread and rip the white part into pieces and put these in the cup. The kids always ask me if they can eat the crust. I tell them if they eat it as they take it off they can. You don't want them eating it with glue on their hands!

We have our bread pieces in our cup. I'd say a tablespoon of glue to start. Of course I eye ball it. It's gonna look like you just made tuna fish.

Again, to be mess free, once you've mixed your bread and glue to that moist tuna fish consistency you'll want to put it right in your hand. If when you roll it, it forms a ball, ya done good. If it smushes all over your hands, you'll need a little more bread.
I have a trusted technique for getting the dough smooth. Roll the ball into a log, fold the log in half, roll a new log and repeat until smooth.

With a couple beads for eyes we can make our animal. I recommend with this dough not pulling it apart to make legs, head and tail. It's best to pinch these things out of the dough. I start with the legs and then the head. Pinch out the tail and ears. Push in your beads and let him air dry for a couple of days. I love this stuff!


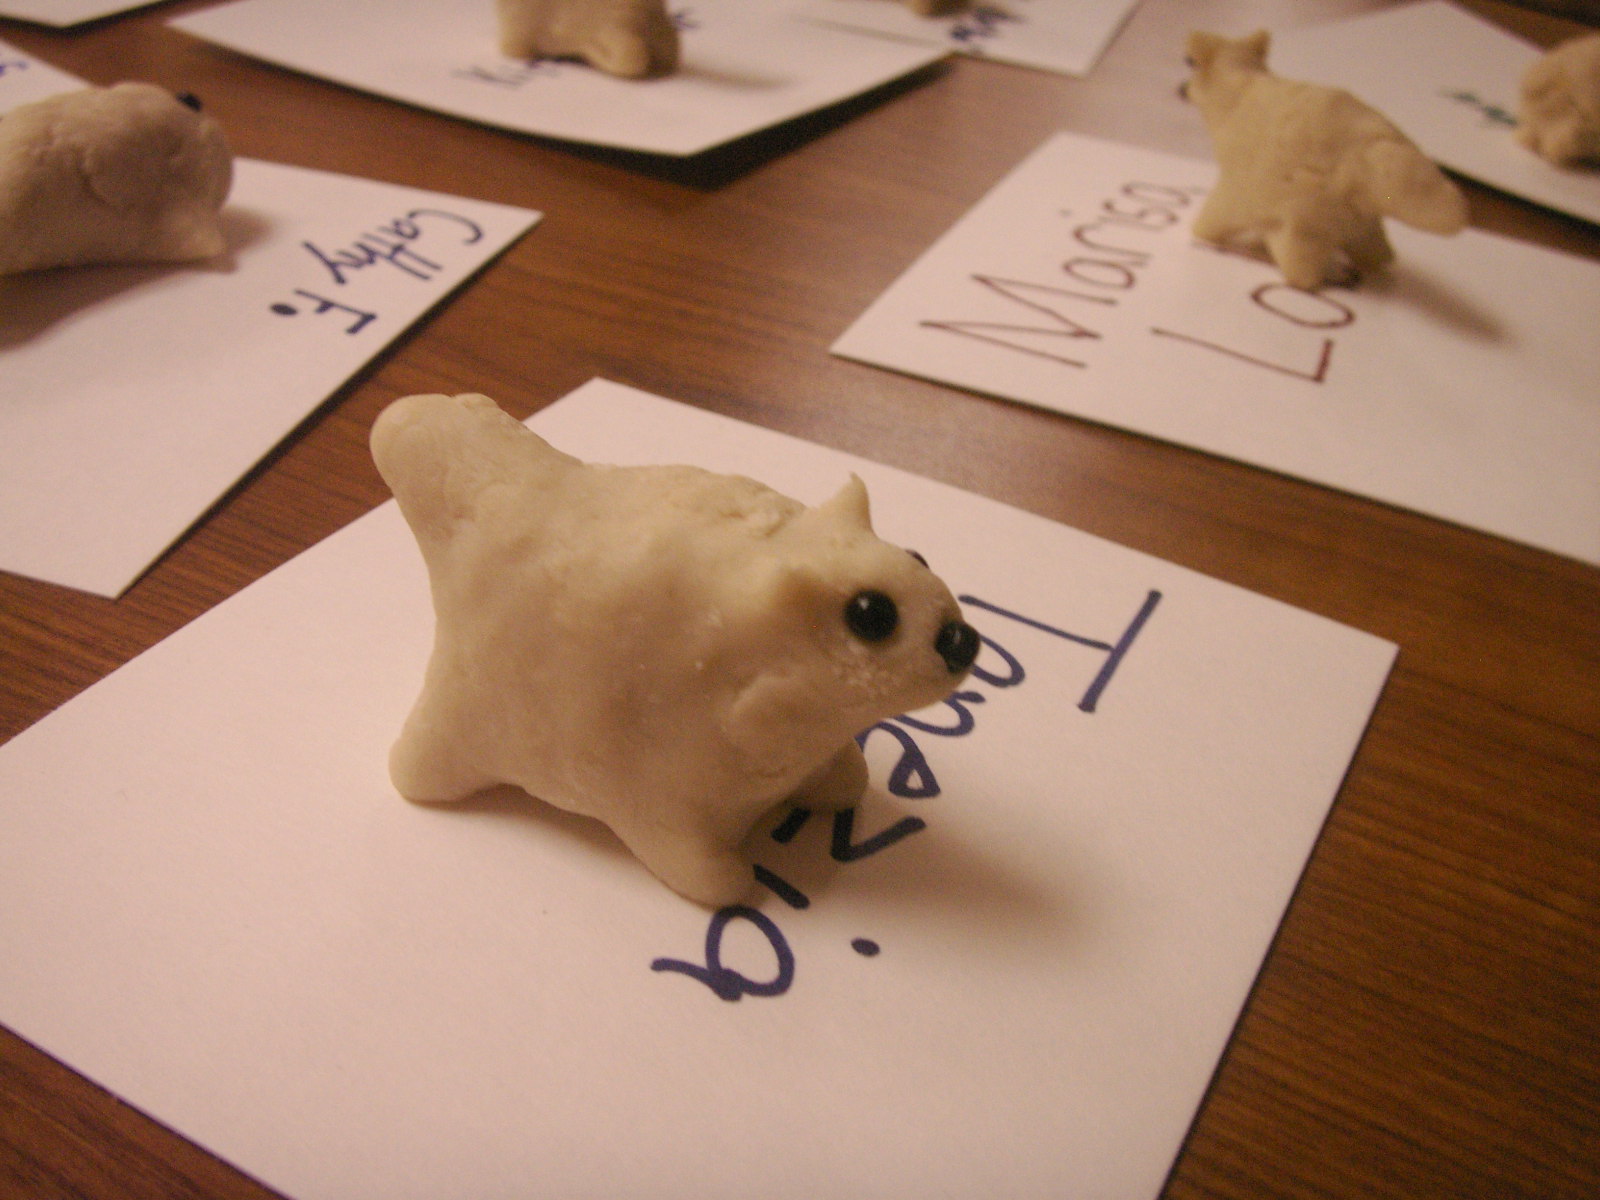

 Whether you're doing a DVBS, classroom, birthday party or fair, this is a nice project for you to do with the kids.
 #1 layer of rocks
 #3 layer of dirt
 #4 live moss plant
 #5 couple pieces of dry moss for holding moisture
 #6 several good squirts
 Watch it grow.
 Fox, hare, polar bear and weasel.
 Not a long ingredient list but don't get out the washable school glue for this one. One slice of white bread per project with a slice set aside in case you're heavy handed with the glue. It's more mess free if you use a disposable plastic cup and popsicle stick but you can use a regular cup and spoon.
 We have our bread pieces in our cup. I'd say a tablespoon of glue to start. Of course I eye ball it. It's gonna look like you just made tuna fish.
 Again, to be mess free, once you've mixed your bread and glue to that moist tuna fish consistency you'll want to put it right in your hand. If when you roll it, it forms a ball, ya done good. If it smushes all over your hands, you'll need a little more bread.
 With a couple beads for eyes we can make our animal. I recommend with this dough not pulling it apart to make legs, head and tail. It's best to pinch these things out of the dough. I start with the legs and then the head. Pinch out the tail and ears. Push in your beads and let him air dry for a couple of days. I love this stuff!

