
 The ring I made before went well so I wanted to play around with that some more. Here I have a gauge 22 and 18 wire. The smaller the number the thicker the wire.
 Yes, it's a handle of some sort. This end makes a bigger ring, something like a size 8. the other end has a metal collar and is more like a size 6 1/2 - 7. The beads I used today are a semi-precious amethyst and they fit both wire sizes.
 This is the 18 gauge which I'm wrapping twice. The 22 gauge I wrap three times. I brought the wires together and bent one up and one down in the center.
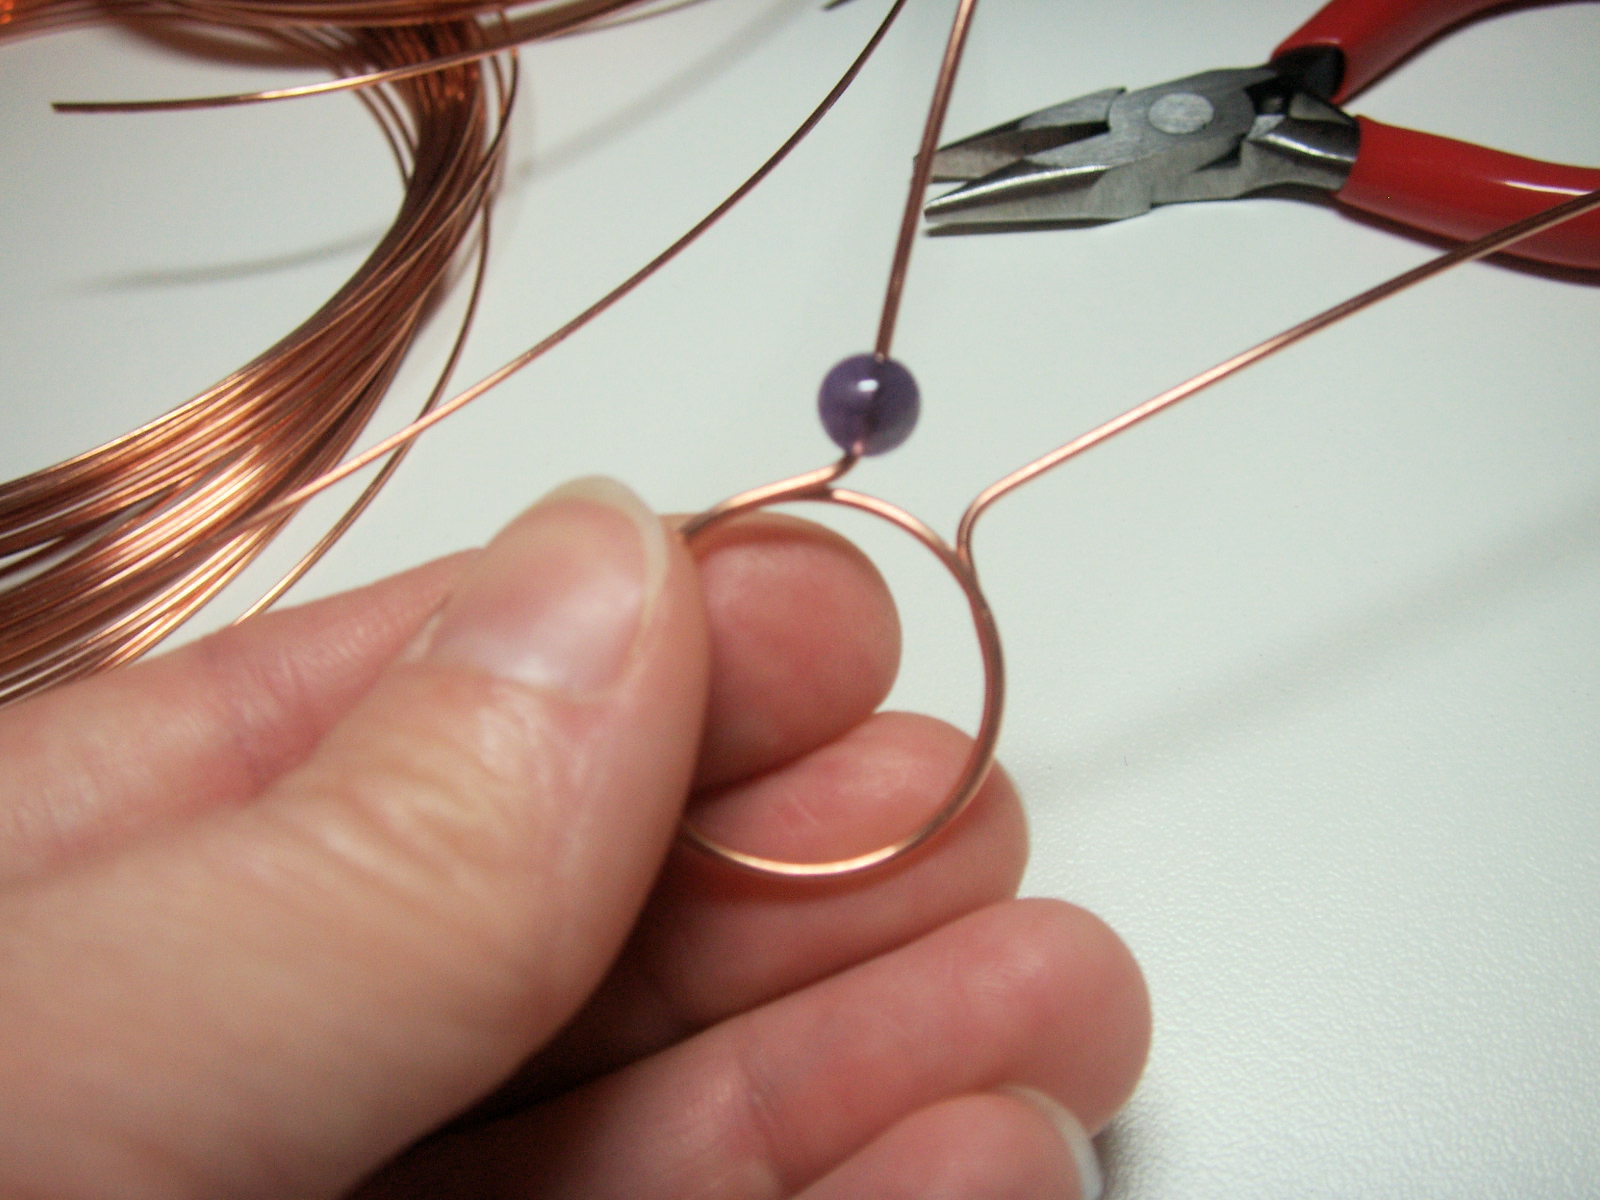 Work one bead at a time.
 Once strung with a bead each wire goes behind in the opposite direction.
 Like so.
 Time to put the ring back on our "form". This is when you want to tighten everything up and make sure the wire is going where you want it to go.
 Now you want to make the wire and beads symmetrical. What you do on the top, do the opposite on the bottom. I do feel my way through each ring, for me it's an organic process. I've also snipped the wires to and inch, inch and a half. This depends on how big you want your spirals.
 I prefer smaller ones so I snipped mine to an inch. Use the round nosed pliers to start the spiral.
 With the thicker wire especially I need to get the spiral into my flat nosed and really crank. Let the spiral sit in the bottom part of your pliers and the wire feed through the top.
 This spiral will sit below the top bead.
 Like so.
 Again, what you did with your first spiral do the opposite with the other.
 One in both sizes, each a little different. I didn't get this wire at the craft store, this is wire that Lois from "A Beaded Affair" brought me. Great price in lots of gauges and shapes and she's got nice beads too. Her site is on my blog list.
They're beautiful!
ReplyDeleteHey, great rings and look at those spiffy coils. Wonderful!
ReplyDeleteThanks for the plug too!
Lois
New follower here- great blog :D
ReplyDeleteI've never tried wire work before but seeing this I might just have to- beautiful tutorial thanks!
Karen xx
Very cool tutorial! Thanks =)
ReplyDeletePretty rings. Thanks for the tutorial!
ReplyDeleteAwesome tutorial! I will link in a future blog post to make sure my readers come and check this how-to! Pearl
ReplyDeletethose pearls were beautiful. i love Semi Precious Gemstone Beads that's y I am wearing lovely pearl earring ....I’m not much of a fan of that…scorpions
ReplyDeletethat ring is beautiful! thanks for a great idea :)
ReplyDeleteI love the ring thank you so much for sharing it is beautiful
ReplyDeletelove this ring... Karen, you are so talented! will try it... many thanks and God Bless You!
ReplyDeletelove,
Fran
aprilsnowjewelry
Very cute how long is the wire to start before wrapping around form?
ReplyDelete